
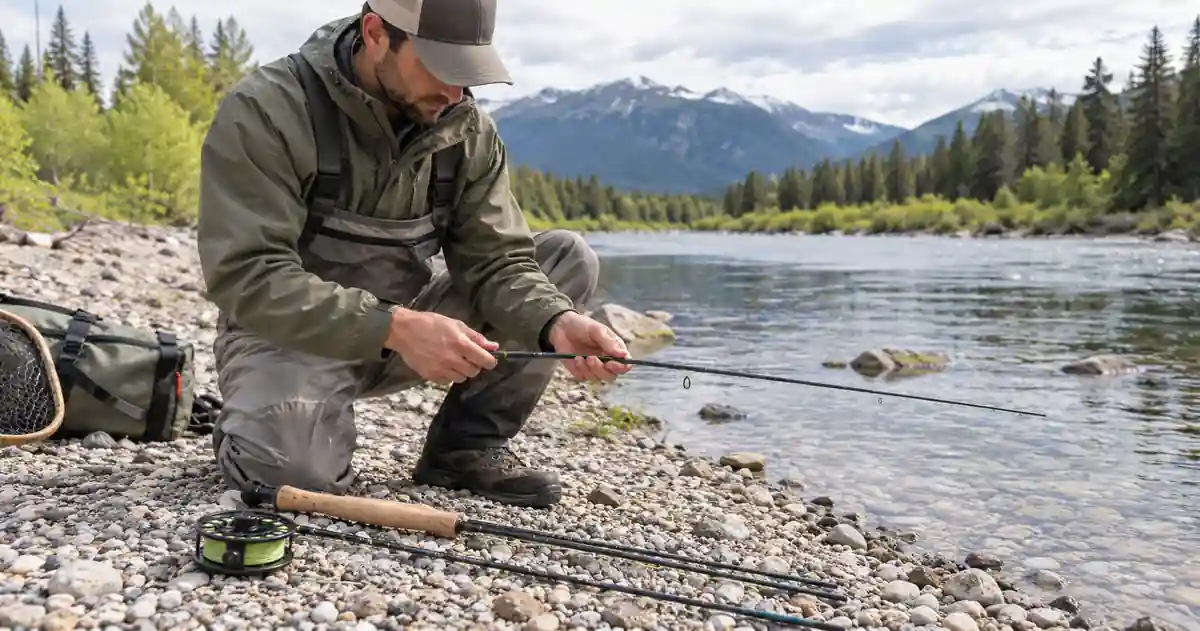
Fly Fishing Rod Setup: How to Rig Your Rod Step by Step
A fly fishing rod setup is ready to fish when the rod is assembled, the reel is secured, the fly line runs cleanly through every guide, and the leader, tippet when needed, and fly are connected correctly.
If you’re learning how to set up a fly fishing rod for the first time, the easiest approach is to treat the job as a few separate steps instead of trying to understand the entire reel-to-fly system at once.
This guide assumes your reel already has backing and fly line installed. If you are starting with an empty reel, the full order is:
Reel → backing → fly line → leader → tippet → fly
Detailed spooling belongs to the separate fly-line setup process. Here, the goal is to get an already-spooled outfit safely ready to cast.
Use this sequence for your fly fishing rod setup:
Assemble → Attach → String → Connect → Check
Table of Contents
Fly Fishing Rod Setup: Quick Answer
To complete a basic fly fishing rod setup, join the rod sections and align the guides, mount the reel securely, pull fly line from the reel and thread it through every guide, attach the leader, add tippet only when needed, tie on the fly, and inspect the entire outfit before making the first cast.
| Step | What You Do |
|---|---|
| 1 | Assemble the rod sections |
| 2 | Attach the reel |
| 3 | String the fly line through the guides |
| 4 | Attach leader and add tippet if needed |
| 5 | Tie on the fly |
| 6 | Check the complete setup |
The exact knots and connection styles can vary. What matters is that every component is secure, correctly oriented, and appropriate for the equipment you are using.
What You Need Before You Start
A basic fly fishing rod setup does not require a large pile of equipment. You need the core pieces that take you from the rod in its case to a fishing-ready outfit.
Fly Rod
Most modern fly rods break into several sections for transport.
The thinnest section is the tip, so handle it carefully when laying the pieces out and joining them.
Before assembly, check that:
- Each section belongs to the same rod.
- Ferrules are clean.
- Guides are not bent.
- The tip-top is intact.
Matching Reel
The reel should be appropriate for the rod and fly line you plan to use.
If you are still choosing one, our guide to choosing the right fly fishing reel explains reel size, capacity, drag, arbor design, and rod balance.
For this guide, assume the reel already contains backing and fly line.
Fly Line
Fly line is the thick coated line you cast.
It is much easier to handle than the thin leader or tippet, which is why you should use the fly line itself when stringing the rod.
If the reel is completely empty, do not skip straight to the leader. Backing and fly line need to be installed in the correct order first.
Leader
The leader is the tapered connection between the thick fly line and the much finer material near the fly.
Many modern fly lines and tapered leaders have loops that can be joined loop-to-loop.
Not every line or leader has a factory loop, so check the actual equipment in front of you rather than assuming one is present.
Tippet
Tippet is the fine terminal material that connects the leader to the fly.
A new tapered leader already ends in a thin tippet section, so you do not automatically need to add a separate piece of tippet before tying on the first fly.
Add fresh tippet when:
- The leader has shortened after repeated fly changes.
- You need a different terminal diameter.
- A particular fishing rig requires another section.
Fly
Choose a fly appropriate for the water and fish you plan to target.
Keep the hook secured while you assemble everything else so it cannot catch your clothing, skin, or nearby gear.
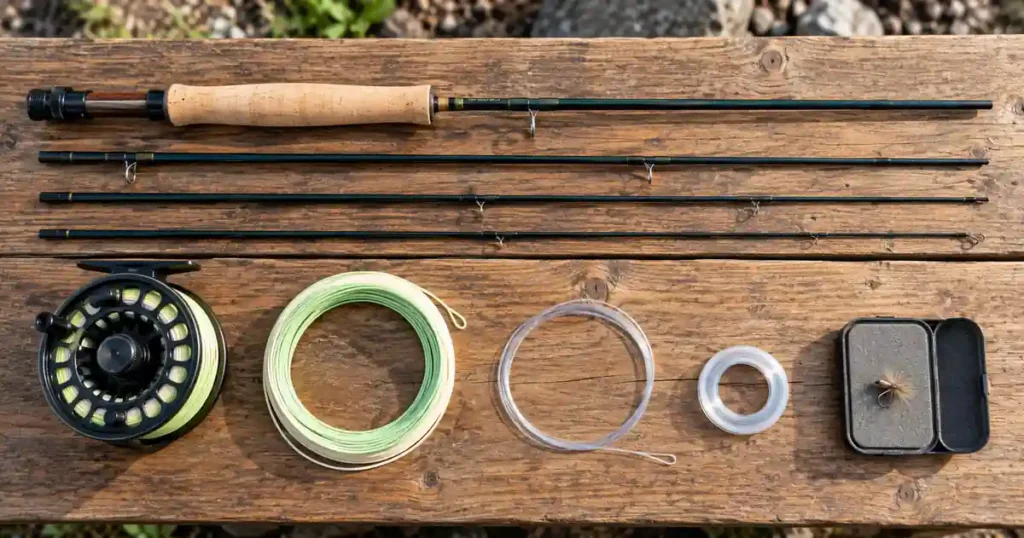
Fly Fishing Rod Setup Step 1: Assemble the Rod
The first physical step in a fly fishing rod setup is joining the rod sections without damaging the ferrules or misaligning the guides.
Lay Out the Sections in Order
Place the rod sections on clean, dry ground, a table, or another safe surface.
Arrange them from the butt section with the cork grip to the thin tip section.
Keeping the sections in order makes it less likely that you will grab the wrong pieces or accidentally step on the tip.
Join the Ferrules
Insert one section into the next until the ferrule seats securely.
Do not force the pieces together.
If a ferrule does not seat normally, separate the sections and check for:
- Dirt
- Grit
- Visible damage
- Misalignment
The sections should be secure enough that they do not rotate during normal fishing, but assembly should not require extreme pressure.
Align the Guides
Some rods have alignment dots that help you rotate each section into position.
If yours does not, sight down the blank and align the guides visually.
All the guides should form one clean path from the reel toward the tip-top.
A twisted rod section is easy to correct now and much more annoying after the line has already been threaded.
Fly Fishing Rod Setup Step 2: Attach the Reel
Next, attach the reel to the reel seat near the cork grip.
Confirm the Retrieve Direction
Before tightening the reel, check which side the handle is on and whether the reel is configured for your preferred retrieve.
Do not assume that every right-handed caster must retrieve with the left hand or vice versa.
Retrieve side is a preference, and many fly reels can be converted. If yours needs to be changed, follow the manufacturer’s instructions for that particular model.
Do not disassemble the drag system by guesswork.
Insert the Reel Foot
Place the reel foot into the reel-seat hardware.
Depending on the rod, the locking rings may secure the reel from above or below.
The goal is the same: both ends of the reel foot should sit properly in the seat.
Tighten the Reel Seat
Tighten the locking ring or rings until the reel no longer shifts.
Use firm hand pressure. Tools should not be necessary.
After tightening, gently move the reel to confirm it is secure.
A loose reel can rotate or fall from the rod while you are handling the outfit.
Check Alignment
The reel should hang beneath the rod with the fly line traveling naturally toward the first large stripping guide.
If something looks twisted or off-center, correct it before stringing the rod.
Fly Fishing Rod Setup Step 3: String the Fly Line
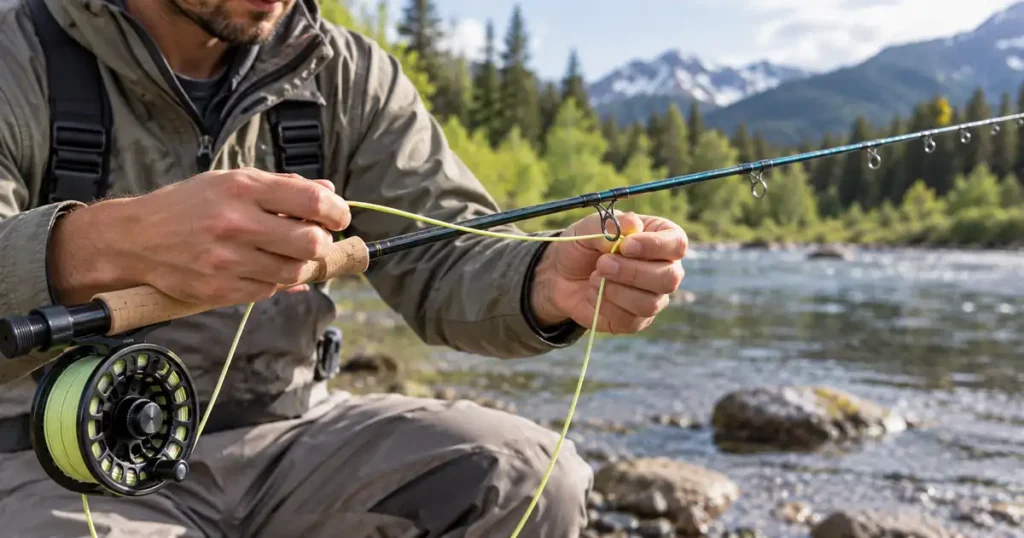
Stringing the line is one of the easiest parts of a fly fishing rod setup, but it is also where beginners commonly miss a guide or accidentally try to thread the thin leader instead of the thicker fly line.
Pull Out Enough Fly Line
Pull several feet of fly line from the reel.
If the leader is already attached, continue pulling until you have enough actual fly line in your hands to work with.
Do not try to feed only the fine leader through every guide. It is harder to hold and can easily slide backward if you lose your grip.
Fold the Fly Line
Fold a section of fly line back on itself so that you are holding a doubled section.
The doubled line is:
- Easier to hold
- Easier to pass through the guides
- Less likely to slip backward if you briefly lose your grip
This is a simple way to string a fly fishing rod without fighting the thin leader all the way to the tip.
Start With the Stripping Guide
Begin with the large guide closest to the cork grip.
Pass the doubled fly line through it, then continue through every guide in order.
Take your time.
If you skip a guide, pull the line back far enough to correct the mistake instead of trying to wrap it around the rod.
Continue Through the Tip-Top
Work toward the end of the rod until the doubled line passes through the final tip-top guide.
Once it is through, pull enough line forward that the leader can extend beyond the rod tip.
Inspect the Line Path
Before moving on, sight down the rod.
Make sure:
- The line passes through every guide.
- The line is not wrapped around the blank.
- No rod section rotated while you were stringing it.
- The guides remain aligned.
- The fly line runs cleanly from the reel to the tip.
This takes only a few seconds and prevents many first-cast problems.
Finish the Fly Fishing Rod Setup With Leader, Tippet, and Fly
Once the rod and reel are assembled and the fly line is through the guides, finish the fly fishing rod setup by completing the terminal connection.
Attach the Leader
If your fly line and leader both have sound, compatible loops, a loop-to-loop connection is a simple option.
Pass the leader loop through the fly-line loop, then pass the entire leader through its own loop.
Pull the two loops together until the connection is neatly seated.
If your equipment does not have suitable loops, use an appropriate line-to-leader connection instead of improvising one.
Decide Whether You Need More Tippet
Look at the end of the leader.
If it is a fresh tapered leader with the terminal diameter you need, you can often tie your fly directly to it.
Add tippet when:
- Repeated fly changes have shortened the leader.
- You need a finer or heavier terminal diameter.
- A particular fishing method requires an additional section.
You do not need to make the leader and tippet setup more complicated than the fishing requires.
For the main connections from reel to fly, see our guide to fly fishing knots for beginners.
Tie On the Fly
Use a secure knot designed for attaching tippet to a fly.
Two useful beginner options covered in our knot guide are:
- Improved Clinch Knot: a straightforward snug connection.
- Non-Slip Mono Loop: an alternative when a small open loop suits the presentation.
Whichever connection you use:
- Seat the knot carefully.
- Inspect the wraps.
- Trim the excess tag.
- Give the finished connection a controlled pull test.
Keep the hook point away from your fingers while tightening or testing the knot.
What if the Reel Is Empty?
If the reel does not already contain backing and fly line, stop and complete the line system before fishing.
The normal sequence is:
Reel → backing → fly line → leader → tippet → fly
Do not simply wind the fly line directly onto an empty reel because the rod itself is already assembled.
Backing installation, fly-line orientation, backing-to-line connections, and reel spooling belong to the detailed fly fishing line setup process rather than this physical rod-assembly guide.
Check Your Fly Fishing Rod Setup Before Casting
Before making the first cast, give your fly fishing rod setup a quick inspection.
Use this checklist:
- Rod sections seated: No section feels obviously loose.
- Guides aligned: They form one clean path.
- Reel secure: The reel does not move in the seat.
- Retrieve correct: The handle and retrieve direction work as expected.
- Line through every guide: No guide was skipped.
- No line around the blank: The line passes inside the guides rather than spiraling around the rod.
- Leader secure: The leader-to-line connection is properly seated.
- Tippet appropriate: Extra tippet is present only when needed.
- Fly knot checked: The final connection is seated and tested.
- Hook controlled: The hook is away from you and anyone nearby.
Once everything checks out, the natural next skill is learning how to cast a fly rod.
For your first practice casts, use a manageable amount of line rather than immediately stripping as much line from the reel as possible.
Common Fly Fishing Rod Setup Mistakes
Most fly fishing rod setup problems are small errors that are easy to fix before casting.
Forcing the Ferrules
If two sections do not fit normally, stop and inspect them.
Forcing dirty, damaged, or misaligned ferrules can turn a simple setup issue into rod damage.
Leaving the Guides Misaligned
A slightly twisted section can be difficult to notice while assembling the rod.
Sight down the guides before stringing the fly line.
Leaving the Reel Seat Loose
A reel that seems secure can shift if the locking rings were barely tightened.
Check the reel again before you begin fishing.
Assuming Retrieve Side Depends on Casting Hand
Use the retrieve direction that feels right for you.
If a conversion is required, follow the reel manufacturer’s instructions.
Stringing the Leader Instead of the Fly Line
The doubled fly line is easier to control than the thin leader and is much less likely to slip backward through the guides.
Missing a Guide
The smaller snake guides can be easy to skip.
Check the entire rod from the cork grip to the tip before casting.
Wrapping the Line Around the Rod
The line can accidentally spiral around the blank even while passing through some of the guides.
Straighten the line before casting.
Pulling Hard Against the Rod Tip
The tip is one of the more delicate parts of a fly rod.
When pulling line through the tip-top, keep the rod under control instead of bending the tip sharply while pulling against it.
Adding Tippet Automatically
A fresh tapered leader already has a thin terminal section.
Add new tippet because the setup needs it, not because you think every new leader requires an extra section immediately.
Trusting a Damaged Factory Loop
Factory loops are convenient, but they still need to be inspected.
If a loop shows serious damage, use a suitable replacement connection instead of assuming it will remain reliable indefinitely.
Skipping the Knot Check
A connection can look acceptable without being fully seated.
Inspect and pull-test the final knot before making your first cast.
Beginner Setup FAQs
What Is the Correct Order for a Fly Fishing Setup?
The complete line system normally runs:
Reel → backing → fly line → leader → tippet → fly
For everyday physical setup, assemble the rod, attach the already-spooled reel, string the fly line through the guides, then finish the leader, tippet if needed, and fly.
Which Way Does the Fly Reel Go on the Rod?
The reel mounts beneath the cork grip with its foot secured in the reel seat.
Set the handle and retrieve direction according to your preference and the reel manufacturer’s instructions.
How Do You String a Fly Fishing Rod?
Pull several feet of actual fly line from the reel, fold it to create a doubled section, and feed that doubled line through the stripping guide, every remaining guide, and finally the tip-top.
Then pull enough line through for the leader to extend beyond the rod tip.
Do You Need Tippet if You Already Have a Leader?
Not always.
A new tapered leader already ends in a thin terminal section. Add tippet when that section becomes shortened, when you need another diameter, or when a particular fishing rig calls for additional material.
How Do You Connect a Leader to Fly Line?
When both components have compatible, sound loops, a loop-to-loop connection is a simple option.
If appropriate loops are not present, other suitable connections such as a Nail Knot or a manufacturer-recommended connection can be used.
Do You Put Backing on Every Time You Set Up the Rod?
No.
Backing normally remains on the reel beneath the fly line. Once the reel is properly spooled, everyday setup involves attaching the reel and stringing the existing fly line through the rod rather than reinstalling backing for every fishing trip.
Final Fly Fishing Rod Setup Takeaway
A dependable fly fishing rod setup is easier when you treat it as five jobs:
Assemble → Attach → String → Connect → Check
Join the rod without forcing the ferrules, secure the reel, use doubled fly line to string every guide, attach the leader and only the tippet you actually need, then inspect the complete outfit before casting.
Once your fly fishing rod setup passes that final check, move on to basic casting instead of adding unnecessary complexity to the rig.
sources Used :
- Orvis News — Getting Started in Fly Fishing, Part 1: How to rig your fly rod — consulted for rod assembly, reel attachment, rod stringing, leader attachment, and the doubled-fly-line stringing method.
Direct URL: https://news.orvis.com/fly-fishing/getting-started-in-fly-fishing-part-1-how-to-rig-your-fly-rod - Fly Fishers International — Knots & Rigging — consulted for rigging terminology, tippet definition, loop-to-loop connections, Nail Knot, leader-to-tippet connections, and other recognized reel-to-fly rigging methods.
Direct URL: https://www.flyfishersinternational.org/Learn-About-Fly-Fishing/Special-Topics/Knots-Rigging