
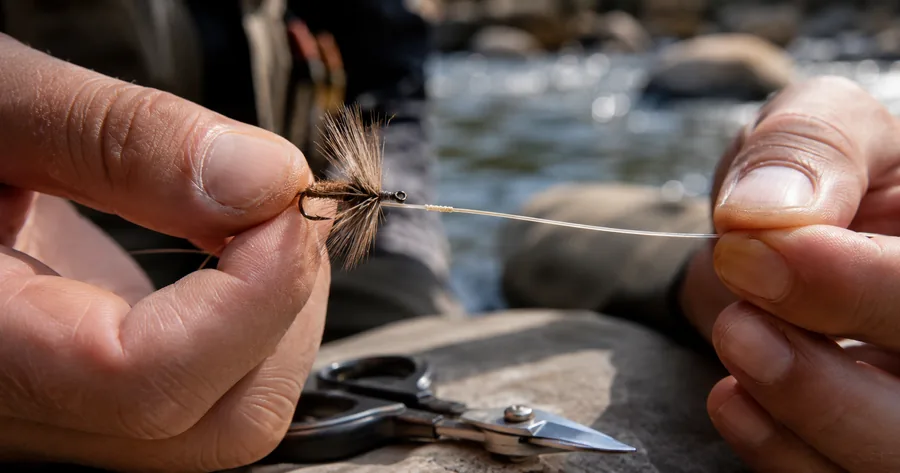
Fly Fishing Knots for Beginners: 7 Knots From Reel to Fly
Learning fly fishing knots can look harder than it really is. Your setup has several connection points, but you do not need to memorize dozens of tying methods before your first trip.
This guide covers seven useful connections from the reel all the way to the fly. More importantly, it separates the ties you may use regularly on the water from the ones you mainly need when setting up or replacing line.
For most beginners, the Improved Clinch Knot and Double Surgeon’s Knot deserve the most practice first. The remaining methods can be added as your rigging needs expand.
Table of Contents
Understand the Setup From Reel to Fly
A typical system follows this order:
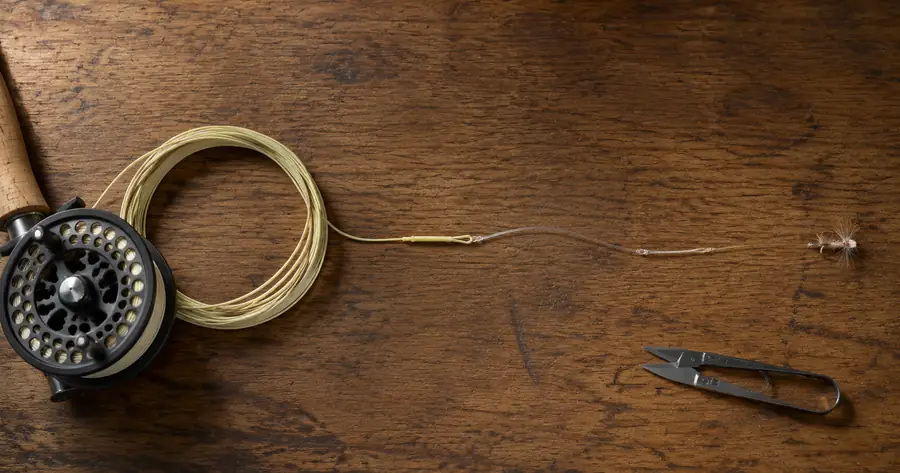
Reel → backing → fly line → leader → tippet → fly
Each material has a different purpose. That is why one tying method is not ideal for every junction. Scientific Anglers teaches its basic connections using this same progression through backing, line, leader, tippet, and fly.
| Connection | Method Covered | Priority | Main Job |
|---|---|---|---|
| Reel → backing | Arbor Knot | Setup/reference | Anchor backing |
| Backing → fly line | Albright Knot | Setup/reference | Join different materials |
| Fly line → leader | Nail Knot | Setup/reference | Create a slim permanent junction |
| Leader → tippet | Double Surgeon’s Knot | Learn first | Add or replace tippet |
| Leader/tippet sections | Blood Knot | Learn later | Make a neat line-to-line join |
| Tippet → fly | Improved Clinch Knot | Learn first | Attach most everyday flies |
| Tippet → fly | Non-Slip Mono Loop | Learn next | Leave an open loop at the eye |
Fly Fishers International includes all of these knot families among the common options covered in its rigging education.
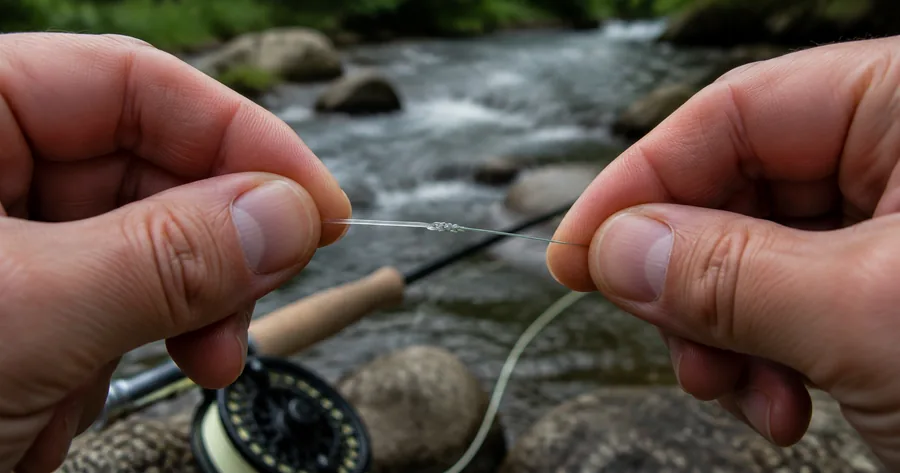
Where Loop-to-Loop Connections Fit
Many modern lines and tapered leaders come with ready-made loops. When compatible loops are present, you can join them directly rather than tying a permanent line-to-leader connection.
Loop-to-loop is a connection method, not one of the seven ties counted in this guide.
That distinction matters for beginners. You should understand the Nail Knot, but you may not need to tie one every time you replace a leader.
Four Basics Before You Start Tying
A few habits make every connection easier to learn.
Learn the Tag End and Standing Line
The tag end is the short working end used for wrapping and passing through openings.
The standing line is the longer portion that continues toward the reel, leader, tippet spool, or other component.
Fly Fishers International uses the same basic terminology in its educational material.
Leave Enough Material to Work With
A very short tag is difficult to control, especially while learning. Start with enough material to make the wraps comfortably, then trim the excess after everything is secure.
Seat the Connection Carefully
For the common monofilament and fluorocarbon ties covered here, moistening before final tightening helps the turns draw together smoothly.
Tighten under control rather than jerking everything closed.
Inspect Before You Cast
Look for:
- Crossed or uneven wraps
- Abraded material
- A slipping tag
- Coils that did not seat correctly
- Obvious damage near the junction
Give the finished connection a firm pull before using it. Scientific Anglers likewise recommends moistening, tightening carefully, testing completed ties, and replacing worn material.
1. Arbor Knot — Backing to the Reel
The Arbor Knot anchors backing to the center of the reel spool.
You normally use it while spooling or respooling a reel, so it is important to understand but not something most anglers retie throughout a normal day.
How to Tie It
- Make an overhand stopper near the end of the backing.
- Take the backing around the reel arbor.
- Use the tag end to make another overhand tie around the standing section.
- Tighten the second overhand tie.
- Pull the standing backing so the two parts slide toward the spool.
- Seat the connection against the arbor.
- Trim the excess tag.
Scientific Anglers identifies the Arbor Knot as the basic way to anchor backing to the reel arbor.
Beginner Tip
Do not confuse this with a connection designed to hold a fly or join fine tippet. Its job is specifically at the reel.
2. Albright Knot — Backing to Fly Line
Backing is much thinner than most fly line, so this junction benefits from a method designed to connect materials with significantly different diameters.
The Albright fills that role.
How to Tie It
- Fold the end of the thicker line back to form a small loop.
- Pass a generous length of backing through that loop.
- Wrap the backing around both legs of the doubled line and itself.
- Keep the turns tight and orderly.
- Return the tag through the loop as directed by the tying method.
- Pull the sections gradually while keeping the wraps organized.
- Moisten, seat, test, and trim the finished connection.
Scientific Anglers provides the Albright as its backing-to-line connection and illustrates the wrapping process in detail.
Check Your Equipment First
Not every modern line uses the same rear connection system. If your line includes a manufacturer-provided loop or specific rigging instructions, follow those directions rather than assuming you need an Albright.
3. Nail Knot — Fly Line to Leader
The Nail Knot produces a compact connection between the end of the line and the leader butt.
It is particularly useful when you do not have a suitable loop-to-loop option.
How to Tie It
- Place a small tube or nail-knot tool alongside the line.
- Position the leader butt beside the line and tube.
- Leave enough leader tag to work comfortably.
- Make about five snug, adjacent wraps around the line and tube.
- Feed the leader tag back through the tube.
- Hold the wraps in place and carefully remove the tube.
- Moisten and gradually tighten the leader until the coils seat.
- Test the connection before trimming.
Scientific Anglers describes a five-wrap version using a small tube as a tying aid.
Nail Knot or Loop-to-Loop?
| Consideration | Nail Knot | Loop-to-Loop |
| Style | More permanent | Removable |
| Leader changes | Requires cutting and retying | Usually quicker |
| Profile | Compact when tied correctly | More visible junction |
| Learning curve | Takes practice | Simple with prepared loops |
A beginner with compatible loops does not need to use the more complicated option simply because it is traditional.
4. Double Surgeon’s Knot — Leader to Tippet
This is one of the most useful fly fishing leader knots to learn early because adding fresh tippet is a common on-water job.
It also has a relatively simple structure compared with some other line-to-line methods.
How to Tie It
- Overlap the leader and new tippet by roughly 4 to 6 inches.
- Hold the two strands together.
- Form an overhand loop with both materials.
- Pass both sections through that loop once.
- Pass them through the same opening a second time.
- Moisten the connection.
- Pull all four ends so it closes evenly.
- Inspect the result and trim the two tags.
Orvis describes the Surgeon’s method with a 4-to-6-inch overlap and two passes through the loop.
Why It Is Worth Learning First
You may need to replace worn tippet or add a fresh section while you are already on the water.
A connection that you can reproduce confidently is more useful than knowing several complicated alternatives only partially.
5. Blood Knot — A Clean Line-to-Line Connection
The Blood Knot is another option for joining sections of leader or tippet. It creates two opposing barrels of wraps that draw together in the center.
It works best when the materials are relatively close in diameter rather than dramatically different. Orvis specifically recommends it for monofilament sections that do not vary greatly in diameter.
How to Tie It
- Cross the two strands and leave workable tags on both sides.
- Wrap the first tag around the opposite standing section.
- Bring that tag back toward the center opening.
- Repeat the wrapping process with the second tag in the opposite direction.
- Pass the second tag through the center from the opposite side.
- Moisten the connection.
- Pull the standing sections until the two wrapped barrels meet.
- Inspect the coils and trim the tags.
The appropriate number of turns varies with material diameter, so avoid treating one wrap count as universal. Orvis provides different turn counts for different diameters in its instructions.
Double Surgeon’s vs. Blood Knot
| Consideration | Double Surgeon’s | Blood |
| Learning curve | Easier | Requires more coordination |
| Profile | Slightly bulkier | Clean and symmetrical |
| Diameter flexibility | More forgiving | Better with similar diameters |
| Best beginner role | First choice to practice | Useful second option |
There is no need to declare one universally superior. Your material, situation, and ability to tie the connection consistently matter more.
6. Improved Clinch Knot — Tippet to Fly
The Improved Clinch is one of the first fly fishing tippet knots a beginner should practice because it handles a job that happens repeatedly: changing a fly.
How to Tie It
- Pass about 5 to 6 inches of tippet through the hook eye.
- Wrap the tag around the standing section about five times.
- Bring the tag through the small opening just above the hook eye.
- Pass it through the larger loop that formed beside the wraps.
- Moisten the connection.
- Pull the standing section and fly gradually until the coils seat at the eye.
- Test it.
- Trim the tag.
Scientific Anglers teaches a five-turn version of the Improved Clinch for attaching tippet to the fly.
Check the Finished Tie
The wraps should look organized rather than piled over one another. If they cross badly or the material looks damaged, cut it off and start again.
Keep the hook point away from your fingers while tightening and testing.
7. Non-Slip Mono Loop — For an Open Connection
The Non-Slip Mono Loop leaves a small loop between the tippet and hook eye instead of pulling everything tight against the fly.
That open connection can allow greater freedom of movement, making it useful in situations where you want the pattern to pivot naturally.
How to Tie It
- Make a loose overhand tie in the tippet.
- Leave a generous tag.
- Pass the tag through the hook eye.
- Bring it back through the original opening.
- Adjust the position to establish the desired loop size.
- Wrap the tag around the standing section.
- Return the tag through the original opening in the correct direction.
- Moisten and tighten while controlling the final loop.
- Test and trim.
Orvis varies the number of wraps according to material size rather than prescribing one count for every situation.
Improved Clinch or Non-Slip Loop?
Choose the Improved Clinch when you want a straightforward snug attachment.
Consider the Non-Slip Mono Loop when an open connection better suits the presentation you are trying to create.
Neither guarantees more strikes. Your fly, tippet, presentation, conditions, and tying quality all affect the result.
Which Fly Fishing Knots Should Beginners Learn First?
Seven methods cover the important junctions in this guide, but you do not need to memorize all seven at once.
Practice First
1. Improved Clinch
Use it for attaching a fly to tippet.
2. Double Surgeon’s
Use it when adding or replacing a tippet section.
Those two skills handle two of the most common adjustments a beginner may make during a day on the water.
Learn Next
3. Non-Slip Mono Loop
Add this when you want another option for attaching certain patterns.
Learn for Full Line Setup
4. Arbor
Useful when putting backing on a reel.
5. Albright
Useful for joining backing to line when the setup calls for it.
6. Nail
Useful for a direct line-to-leader connection when you are not using compatible loops.
Add After the Basics
7. Blood
A useful alternative when joining suitable leader or tippet sections.
This order turns knot practice into a manageable progression instead of a memorization exercise.
Common Beginner Mistakes
Good technique matters more than simply knowing the name of a connection.
Avoid these common problems:
- Rushing the wraps: Organized turns are easier to seat correctly.
- Leaving crossed coils: If the finished connection looks wrong, retie it.
- Using damaged material: Replace sections that are nicked, worn, or abraded.
- Tightening carelessly: Draw everything together under control.
- Skipping the pull test: Test before you make the first cast.
- Using the wrong method: Match the tie to the materials and connection point.
- Practicing only while fishing: Learn at home when you can see exactly what your hands are doing.
A Simple 10-Minute Practice Routine
You do not need special equipment to start building muscle memory.
- Begin with cord, old line, or thicker monofilament that is easy to see.
- Follow the instructions slowly for one connection.
- Cut or untie it.
- Repeat until the sequence feels familiar.
- Try again without checking every step.
- Move to the leader or tippet material you actually plan to use.
- Practice the Improved Clinch and Double Surgeon’s first.
Do not chase a specific number of repetitions. The goal is to know the sequence, recognize a properly seated result, and feel comfortable starting over when something looks wrong.
Frequently Asked Questions
How many fly fishing knots does a beginner need?
You can start with just a few dependable connections. The Improved Clinch handles fly attachment, while the Double Surgeon’s handles many leader-to-tippet situations. The remaining methods become useful when you assemble a reel, replace line, work without factory loops, or want additional rigging options.
What is the best knot for tying a fly to tippet?
There is no single best choice for every situation. The Improved Clinch is a practical beginner option for a snug attachment. The Non-Slip Mono Loop provides an alternative when you want a small open loop at the hook eye.
What should I use to connect leader and tippet?
The Double Surgeon’s is a simple starting point. The Blood Knot is another option, especially when the materials are reasonably close in diameter and you want a cleaner line-to-line profile.
Do I need a Nail Knot if my line already has a loop?
Not necessarily. If both the line and leader have compatible, sound loops, a loop-to-loop connection is easier to disconnect when replacing the leader. Learn the Nail Knot as a useful setup skill rather than assuming it is mandatory.
Should I moisten a connection before tightening it?
For the common monofilament and fluorocarbon ties covered here, major instructional sources recommend moistening before final tightening. Seat everything carefully and test the finished connection before fishing.
Final Takeaway
The easiest way to learn fly fishing knots for beginners is to connect each tying method with one specific job.
Start with the Improved Clinch for attaching flies and the Double Surgeon’s for adding tippet. Add the remaining methods when your setup actually requires them.
Understanding the complete reel-to-fly system is useful, but being able to tie two everyday connections confidently is a better starting point than trying to memorize seven at once.
Sources Used — Not Part of the Article:
- Fly Fishers International — Knots & Rigging
Fly Fishers International: Knots & Rigging - Scientific Anglers — Special Delivery | Fly Fishing Knots Every Fly Fisherman Should Know
Scientific Anglers knot-tying guide - Orvis Learning Center — Fly Fishing Knots
Orvis knot library - Orvis Learning Center — Blood Knot Animation
Orvis Blood Knot instructions - Orvis Learning Center — Surgeon’s Knot Animation
Orvis Surgeon’s Knot instructions - Orvis Learning Center — Non-Slip Mono Loop
Orvis Non-Slip Mono Loop instructions